During the development of a machine including image processing, it is common that the vision part comes far from the beginning of the project. However, it would be nice to be able to start working on this part the sooner we can, so it can help making choices about the equipment.
There are solutions for that, and today we’ll talk about one of them :
Blender is an open source 3D computer graphics software toolset. It is used for modeling, animation, texture editing, and much more.
We’ll be using its modeling, texturing, rendering abilities, along some physics simulation to help us create images.
Modeling
To demonstrate Blender capabilities, we’ll use it to model fine sheet metal parts to use them in a bin picking application. It’s a project I made in the past, but as the parts are patented, I had to use blender to make image with slightly different shape for my portfolio.
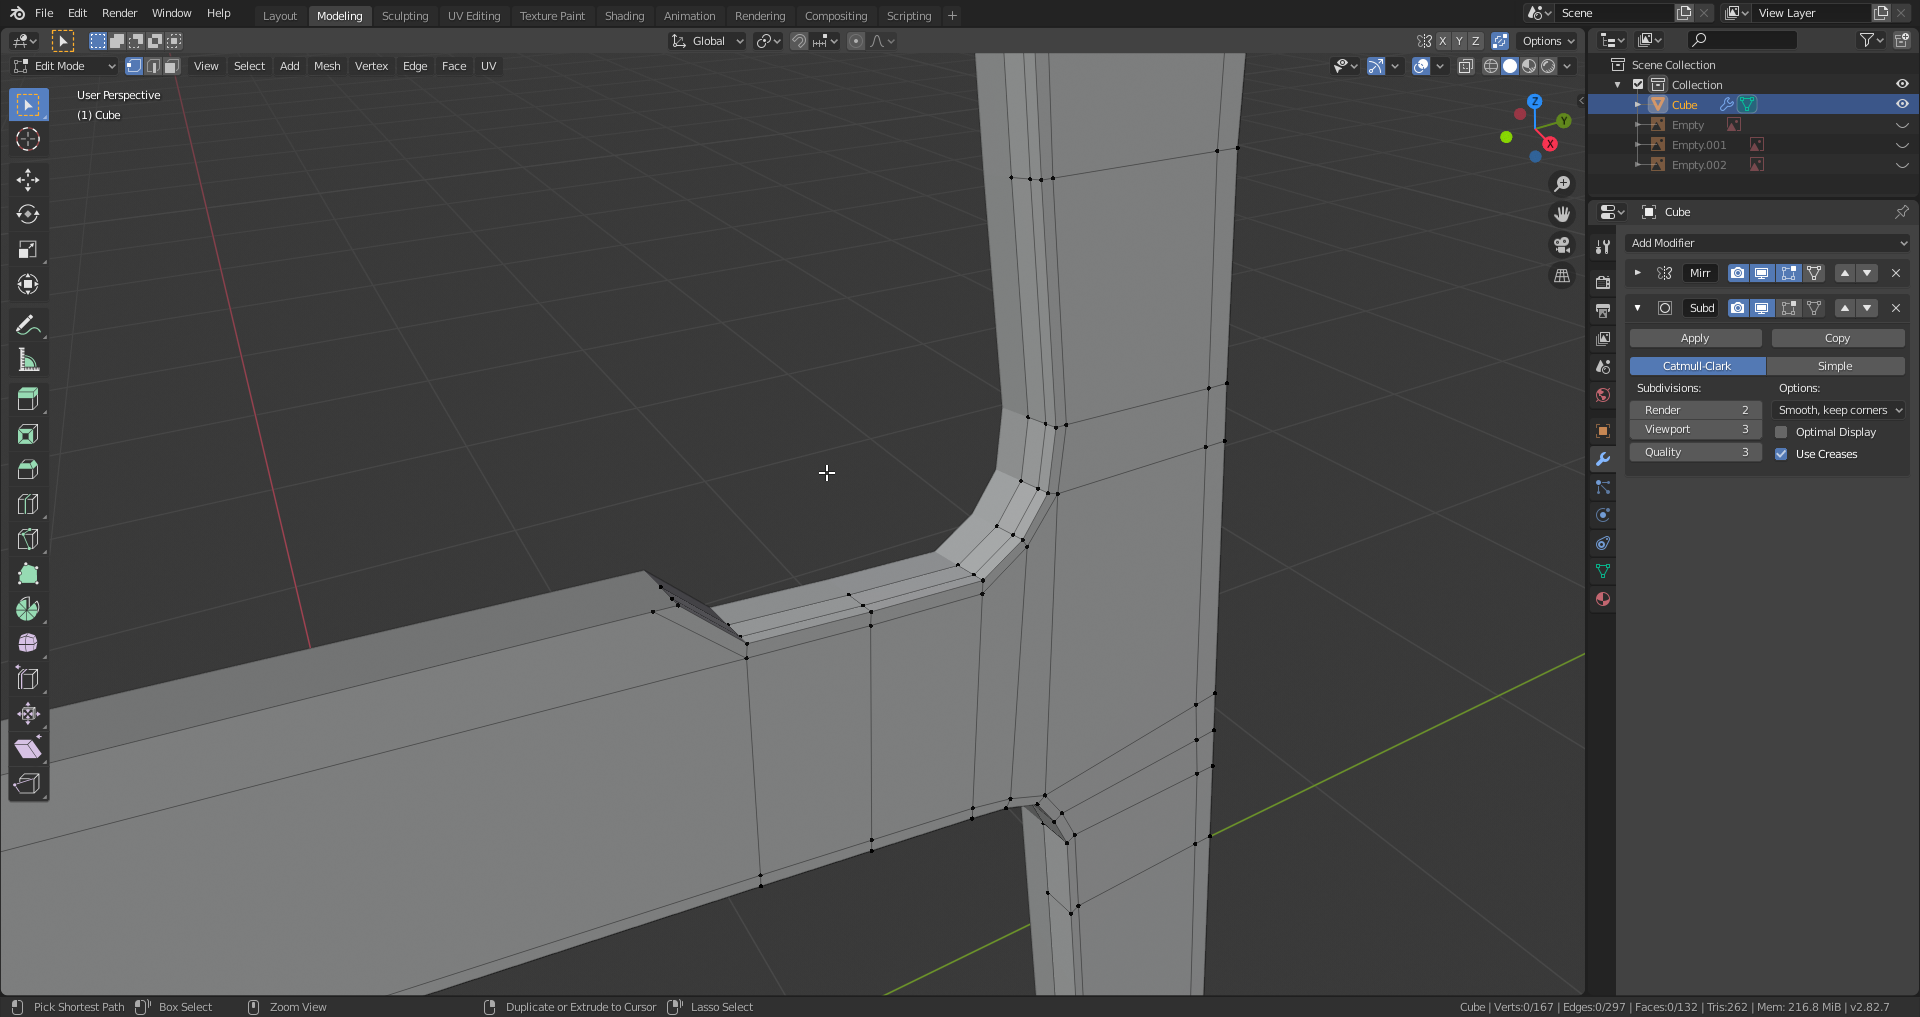
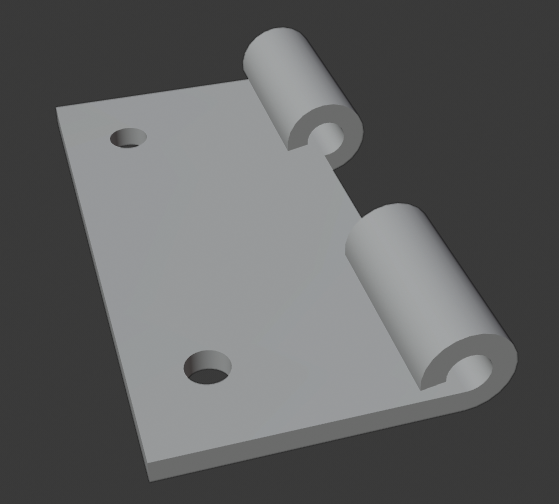
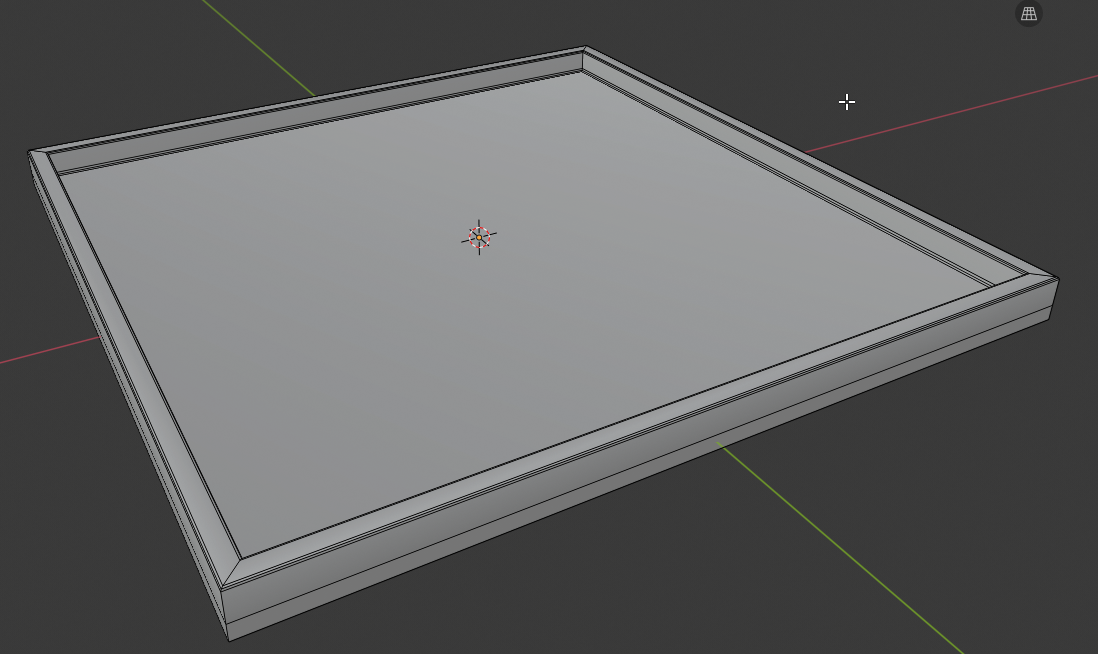
The first step is the modeling of a part. To get as close as possible to the real project, I chose a little part with some bumps, and a bucket.
Textures
To get realistic images, we have to texture them. Four textures are used : color, metal, roughness and normal. Those are typically used in PBR (Physically Based Rendering)
In order to create them easily, I used Substance Painter. This software is made for texturing, and offers smart materials that mimics some real life ones like aluminum, or iron. They automatically add wear and tear on the part where it is most probably supposed to be, depending on the shape of the object.
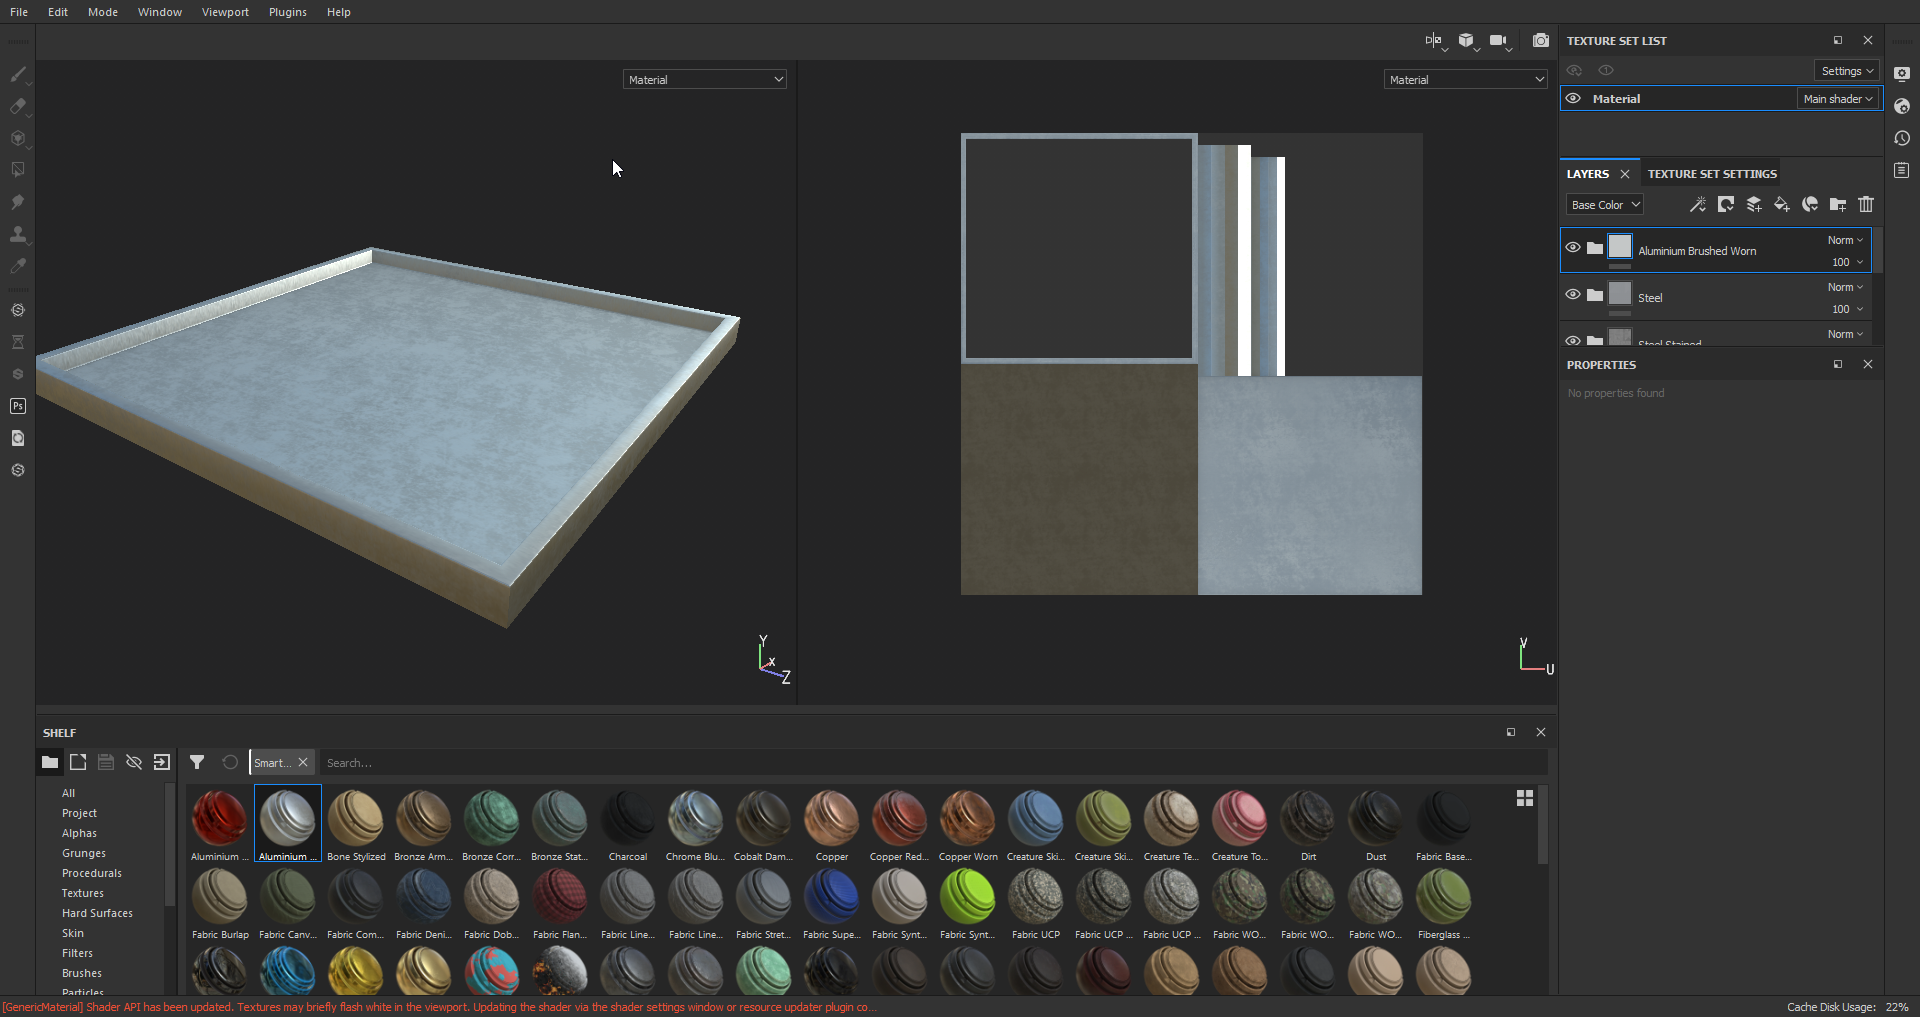
Once the textures are created and exported, we can use them in Blender principled shader.

Physics simulation
Now that we have textured parts, we can put them manually in the bucket, to make a pile which resemble a real one. But we are also able to simulate their fall in the bucket by enabling physics in Blender.
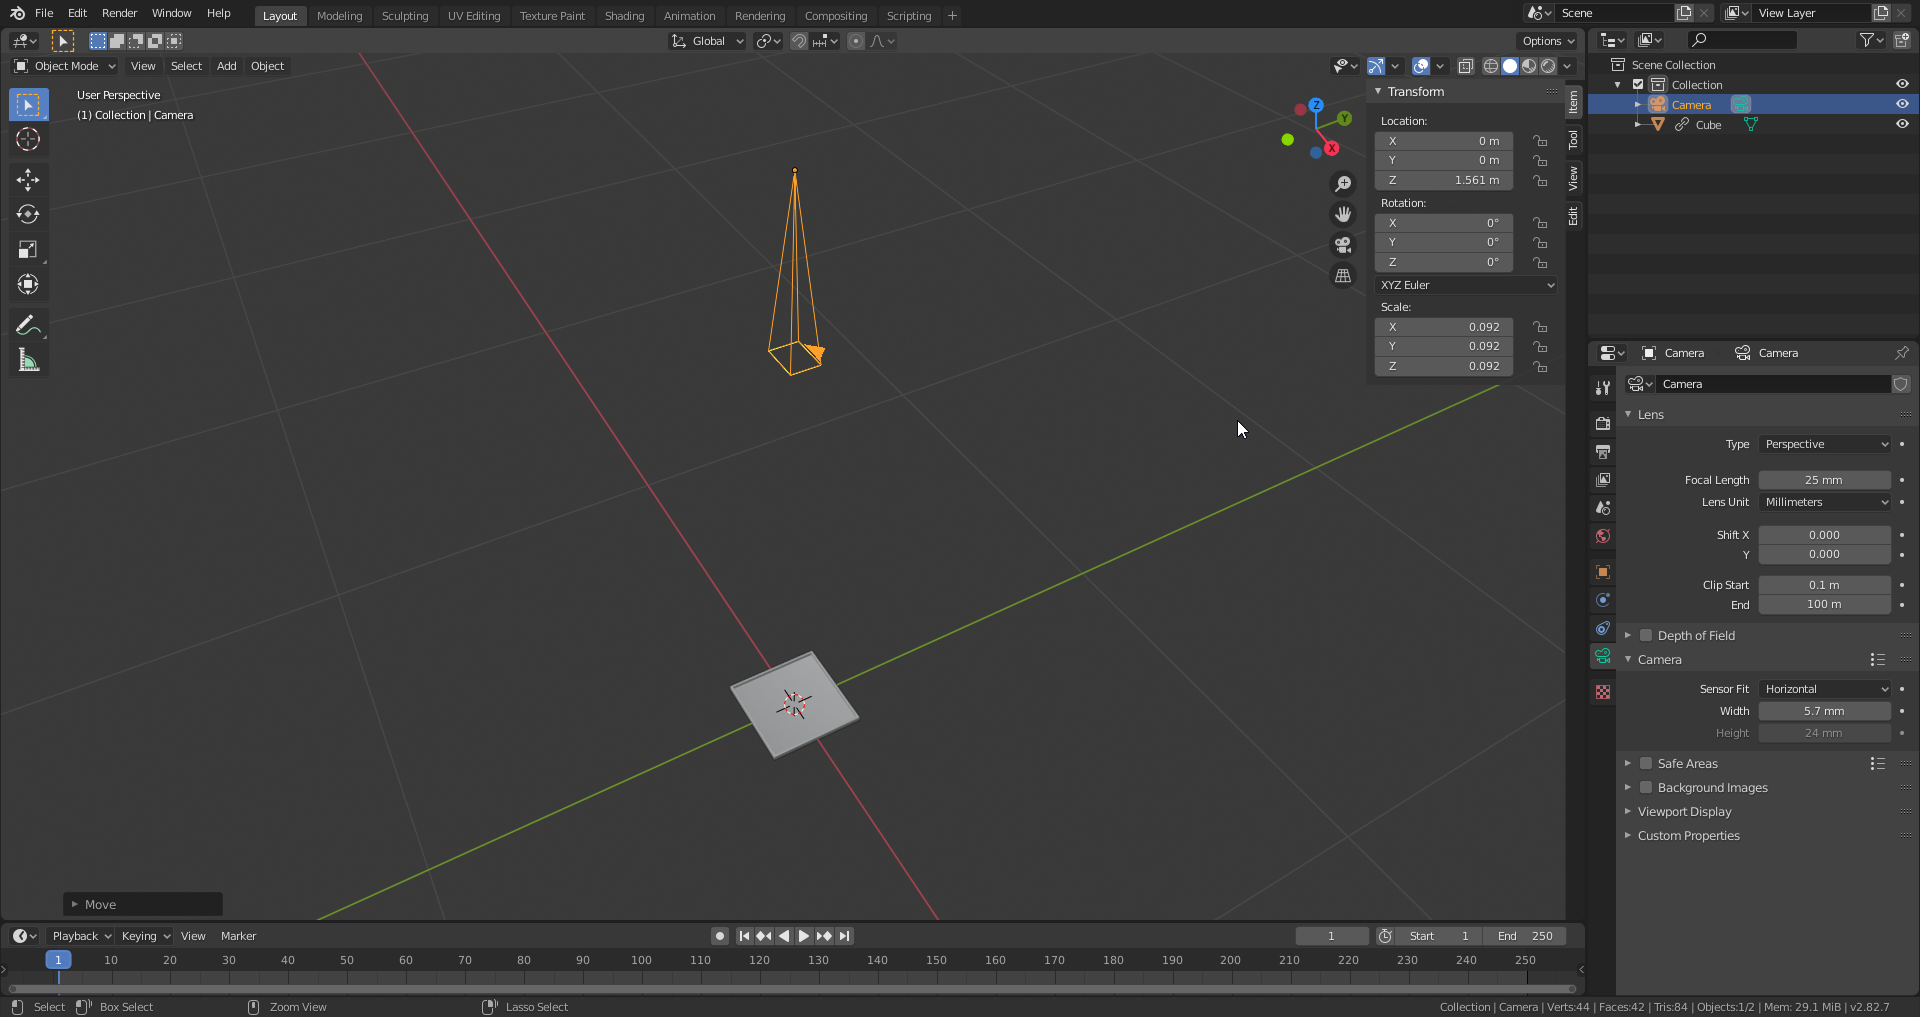
Camera & Image
All there is to so now is positioning the camera and go through its settings. At this point, we can easily modify acquisition parameters, like the sensor size or the objective focal length to check if there is no problem before even getting to really build the system.
Add some lights, and render !
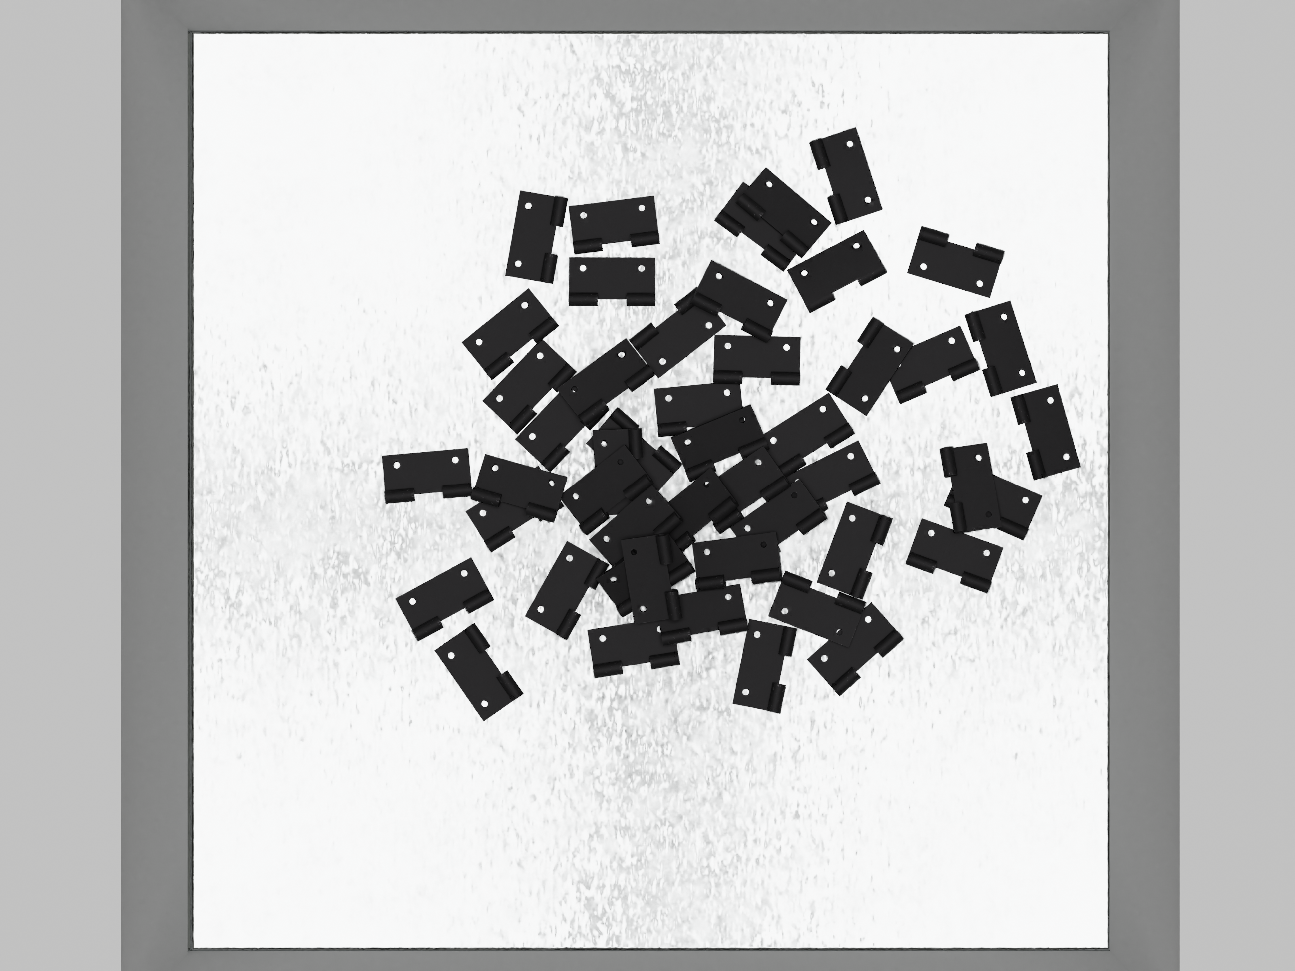
Here it is, we finally have a simulated image of our pile, we were able to verify some of our acquisition parameters and we can start programming the vision algorithm. All of that without really building the system.